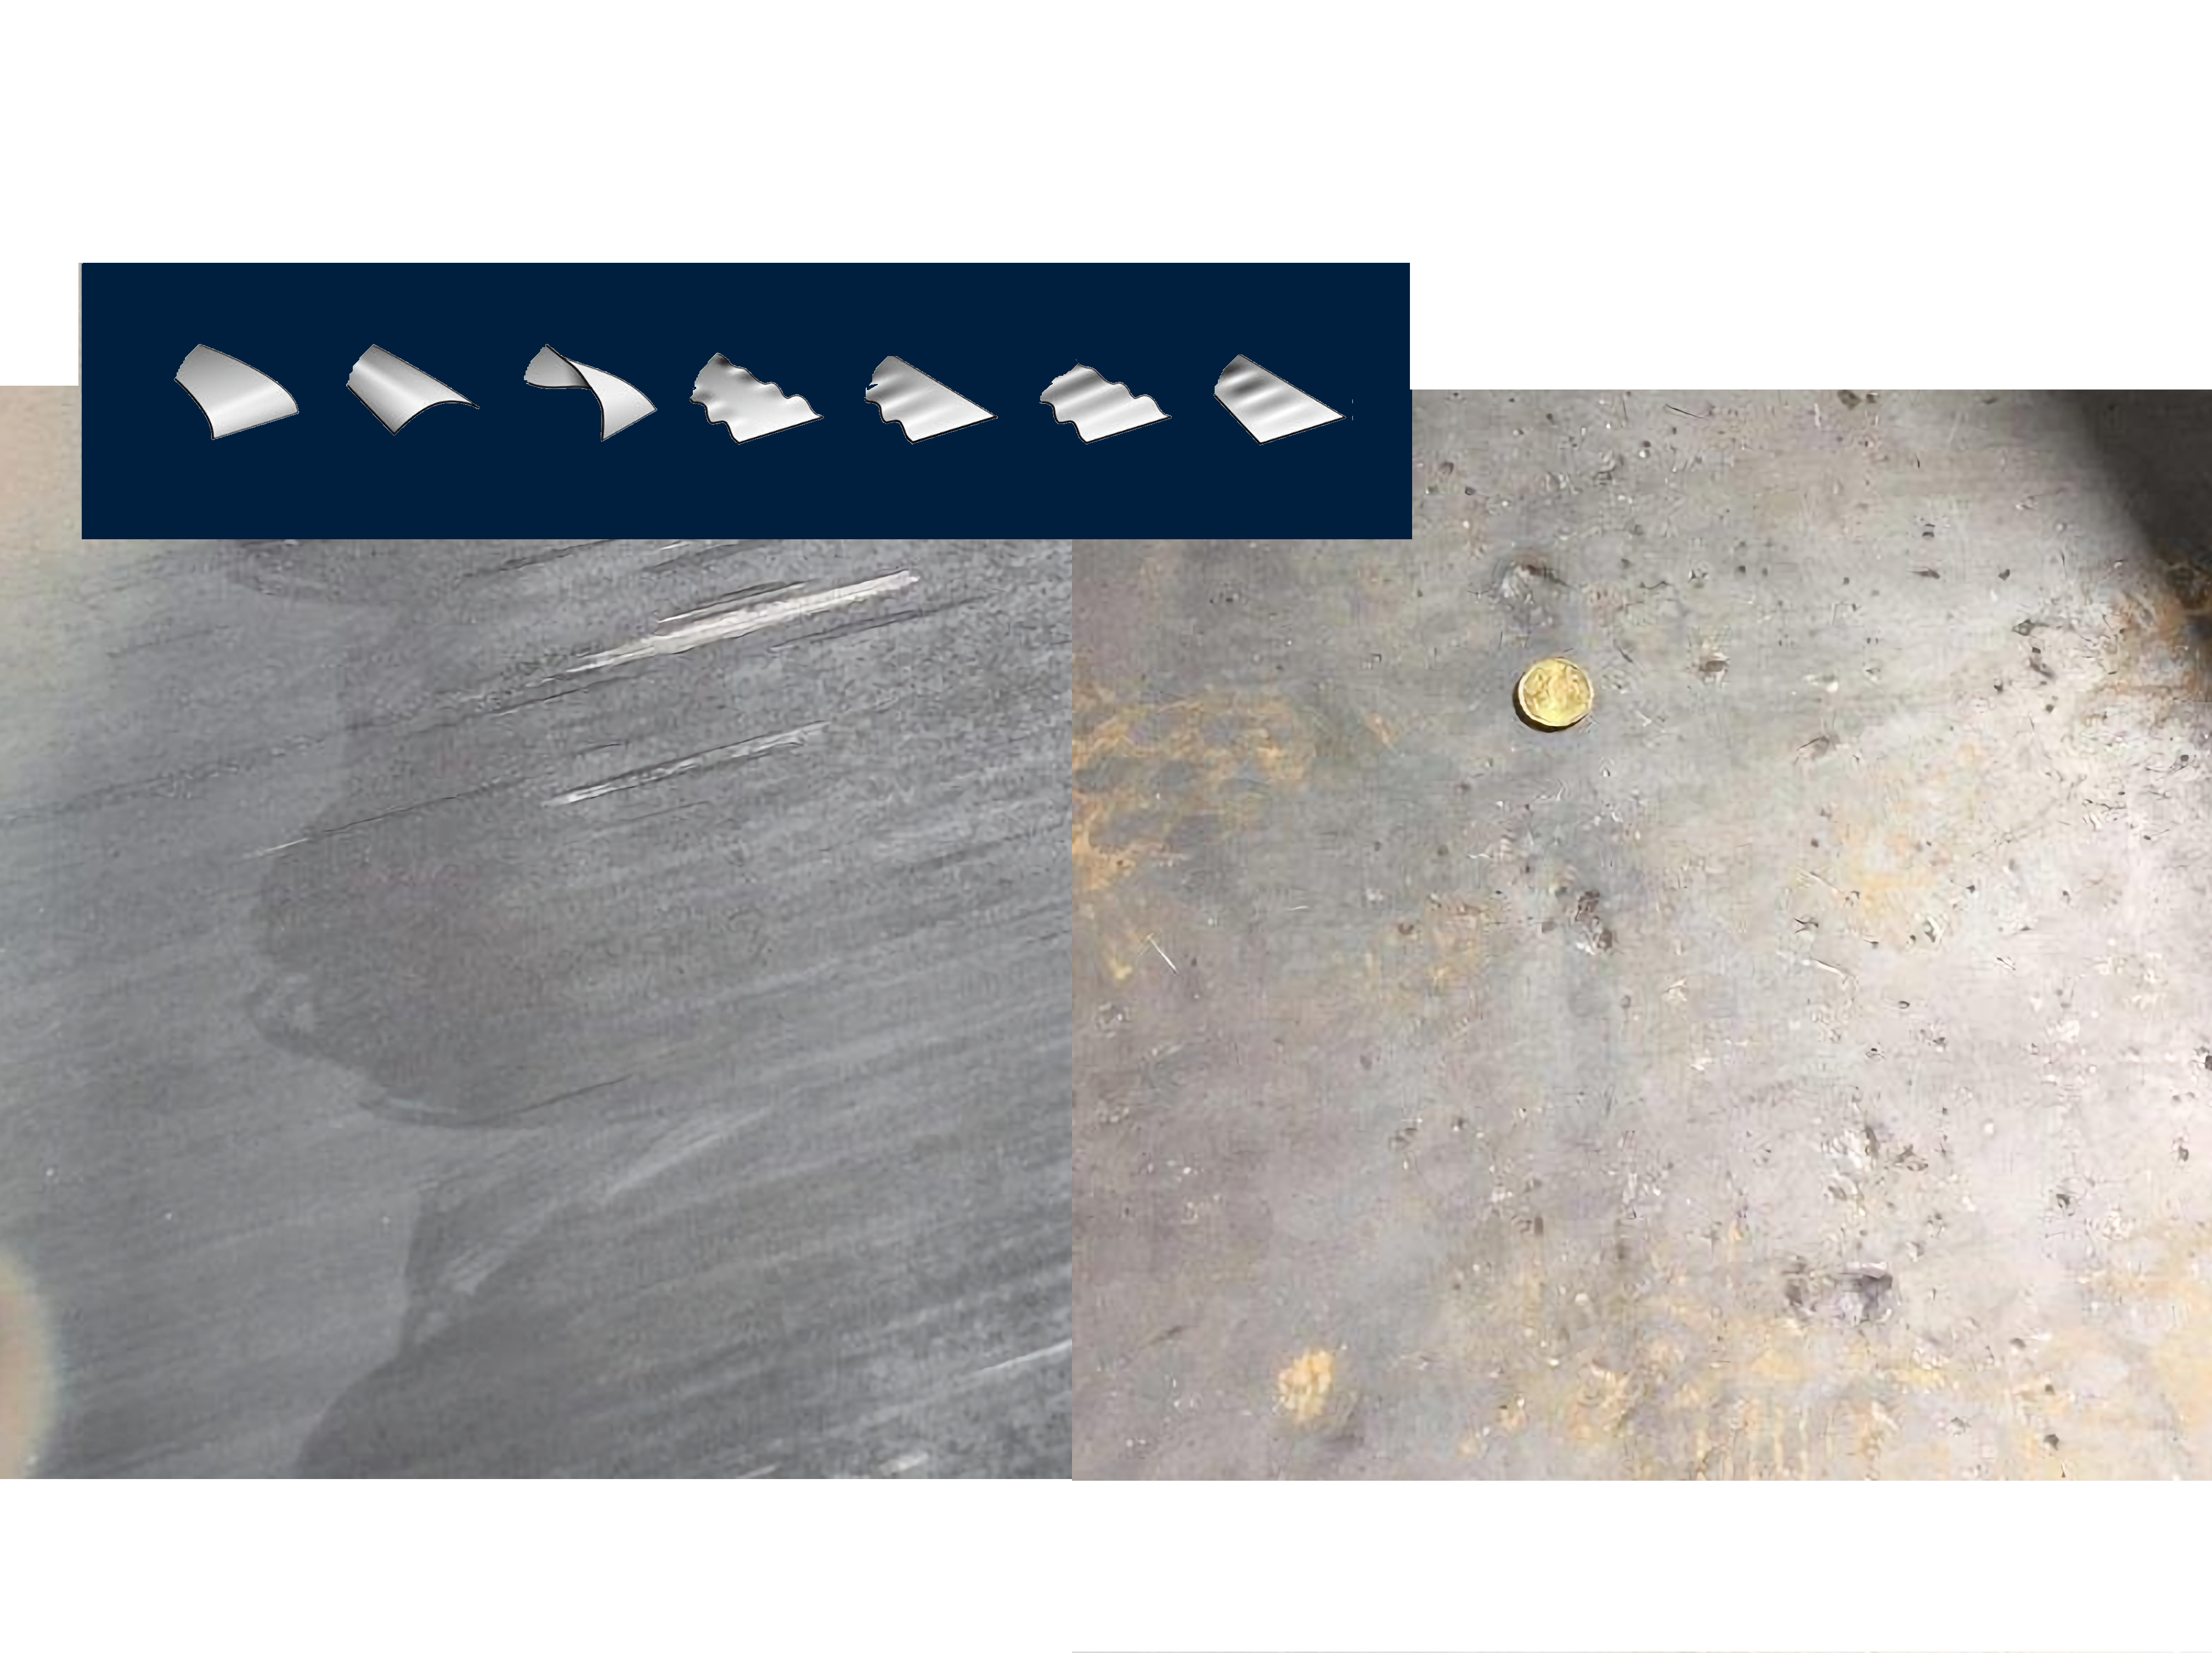
Double technologies surface inspection during the production for flat laminates and hollow profiles.
Surface inspection in the production of flat laminates, pipes and hollow profiles is a crucial aspect to guarantee the quality and
integrity of the material and it is essential to ensure the
quality of flat rolled products and to meet production standards.
It is based on a double and redundant technology.
SIS provides a complete tool to automate the superficial control on the semi-finished or finished product, before it moves on to the next processing or is delivered to the end customer.
Based on visual and laser technologies combined, it represents the most advanced double technologies system available today.
The importance of providing a product in compliance with the requests and visually perfect will avoid unpleasant events such as complaints and returns of the material.
The traceability of every single operation at any stage of the process allows the generation of processing reports to be attached to the product and which are easily available at any time.
Sis is immune from false alarms due to lights, shadow and reflection since it is based not only on vision but also to the material's quantity and not just on the surface visual appearance.
The detection of the shape and the quantification of the dimensions occurs through the determination of the distance of the object from the measurement sensor. The reconstruction of distance vectors represents the shape of the linear/conical/rounded surface measured. The acquisition of data from the sensors and the processing and presentation software itself is carried out by a PAC system, which is a PLC integrated into a PC.
Residual tension forecats surface after production.
Residual tensions (more accurately called residual stresses) in flat metals are internal stresses that remain in the material even after all external forces (like loading or forming forces) have been removed. These stresses are "locked in" due to manufacturing processes and can significantly affect the mechanical performance of the metal.
Sources of Residual Stresses in Flat Metals
- Plastic Deformation During processes like rolling, bending, or stamping, the outer layers of the metal may plastically deform while the inner layers remain elastic, leading to stress imbalance.
- Thermal Gradients In welding, heat treating, or rapid cooling, different parts of the metal expand and contract at different rates, causing internal stresses.
- Machining or Grinding Surface layers may be compressed or stretched due to localized heating and removal of material.
- Coating or Surface Treatment Electroplating, painting, or thermal spraying can cause residual stress from shrinkage or expansion of the coating layer.
Common Residual Stresses in Flat Metals
- Tensile Residual Stress The metal is "stretched" internally, increasing the risk of crack initiation and fatigue failure.
- Compressive Residual Stress The metal is "compressed" internally, which can improve fatigue resistance and prevent crack growth (often desirable).
- Balanced (Self-equilibrating) Residual Stress One part of the metal is under tension, while another is under compression, balancing out across the section.
- Can lead to warping or distortion after machining.
- May cause unexpected failure during service.
- Affects dimensional stability and fatigue life.
Why Residual Stress Matters
Open architecture solutions
While the PLC part carries out the function of managing the IOs internal and external to the system, the The PC part carries out calculations and builds the operator interface as a web server where a graphic trend of the value resulting from the amount of data within tolerance is generated.
The data received from the controllers in the form of vectors are organized to be integrated with each other by reconstructing the profile of the object section and evaluating its physical dimensions.
This implies that the operator interface can be generated on any PC with any operating system using HTTP protocol (a normal internet browser is sufficient).


